Share via email
- New electrode
- After electrode maintenance
- After a long storage period

How to calibrate a pH meter
Jun 17, 2024
Article
This blog explains how to correctly calibrate a pH meter and pH electrode to obtain accurate pH readings. Some of the most frequently asked questions about pH calibration are answered in this article by experts at Metrohm.
To jump directly to a question, click on the link below:
- Why do pH meters need to be calibrated?
- How often do I need to calibrate my pH meter?
- What do you use to calibrate a pH meter?
- How do I select the correct buffers?
- How should I set up my instrument?
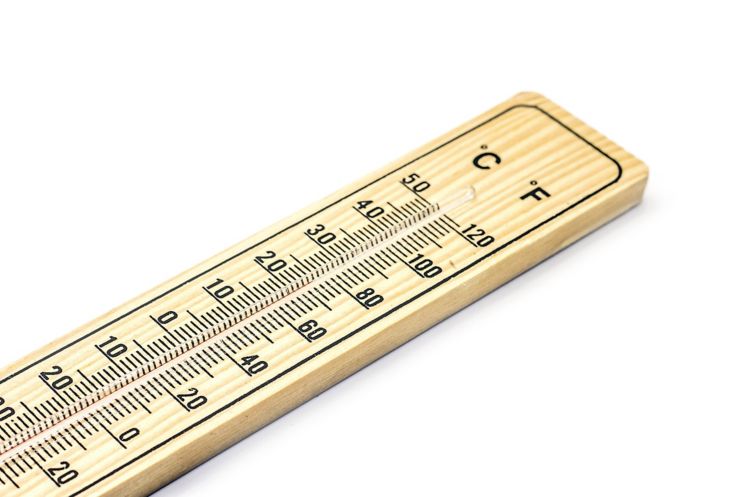
- Why do I have to measure the temperature?
- How do I perform my calibration?
- What do «slope» and «offset» mean?
Why do pH meters need to be calibrated?
The pH meter must be calibrated because the pH electrode can change its properties, e.g., if the reference electrolyte becomes contaminated.
If you do not calibrate your meter and electrode, you obtain precise but inaccurate results for your pH measurement. Therefore, it is important to regularly calibrate your pH meter and electrode to get accurate results. The more accurate your results need to be, the more often you need to calibrate.
Learn more about how to determine when pH calibration is really necessary in our blog post «Avoiding the most common mistakes in pH measurement».
How often do I need to calibrate my pH meter?
How often you need to calibrate your pH meter depends both on the number of measurements you make and the sample matrix. The following list offers a general guideline for the calibration frequency based on certain factors.
What do you use to calibrate a pH meter?
Buffers are used as calibration solutions. The quality of the buffer solutions is crucial, as the calibration is only as good as the buffers employed.

How do I select the correct buffers?

Figure 1.
A 3-point calibration allows you to cover a wider pH range with a greater accuracy than a 2-point calibration.
Use at least two different buffers, though it is even better to perform a multi-point calibration. Also, make sure that the pH of your sample is within the calibration range!
For example, if you measure a sample with a pH of 9, your calibration should not be between pH 4 and 7 – it should at least go up to pH 10. In Figure 1, you can see that errors become large, especially outside the calibrated range, if buffers at the wrong pH are used. This figure also highlights the difference between a 2-point vs. 3-point pH calibration and shows why the latter gives more accurate results.
How should I set up my pH meter?
In addition to choosing the right calibration buffers, it is also very important to set up your meter correctly. This is because not only is pH measurement sensitive to temperature, pH buffers are, too. Their measured pH value can change with temperature. So-called «buffer tables» usually depict the temperature-dependence of a pH buffer.
Most instruments already include buffer tables from various buffer manufacturers. They contain the exact pH values of a specific buffer at different temperatures. These tables are unique for each manufacturer.
During the calibration, the meter will select the correct pH value according to the measured temperature. If your chosen buffer does not have an associated table, make sure you enter the correct pH value or use a custom buffer table to store the information.
As Table 1 shows, a temperature change of only 5 °C (e.g., from 25 °C to 20 °C) can change the pH by >0.04 units. Therefore, it is important to select the manufacturer of your buffer solutions in the calibration parameters of your pH meter.
| T (°C) | pH |
|---|---|
| 0 | 9.27 |
| 5 | 9.18 |
| 15 | 9.08 |
| 20 | 9.04 |
| 25 | 9.00 |
| 30 | 8.96 |
| 38 | 8.91 |
| 40 | 8.90 |
| 50 | 8.84 |
| 60 | 8.79 |
| 70 | 8.74 |
| 80 | 8.71 |
| 90 | 8.68 |
Why do I have to measure the temperature?
You might wonder why you should always measure the temperature when performing pH measurements. Most pH electrodes used for pH measurement have a built-in temperature sensor. This is because the pH value is temperature-dependent and so is the pH calibration. The higher the temperature, the steeper the slope (Nernst slope, Figure 2).
Read more about the theory behind this in our related blog post.

Figure 2.
Comparison of the slope at different temperatures.
Modern pH meters correct the slope if the calibration and measurement are not done at the same temperature.
However, there is one effect that the meter cannot correct for: samples do not have the same pH value at different temperatures! You can see this phenomenon in the example buffer table above (Table 1).
This temperature dependence is different for each sample. Therefore: always measure your samples at the same temperature if you want to compare their pH values. Also, be sure to carry out the pH calibration at the same temperature at which you measure your samples. This will greatly reduce the error of your pH measurement.
How do I perform my pH meter calibration?
First, prepare the pH electrode. Open the refill plug to ensure proper electrolyte outflow, rinse the pH sensor with deionized water, and place it in the buffer solution. An important note: both glass membrane and diaphragm must be covered with the buffer solution.
For reproducible results, position the electrode in the same way inside of the beaker, especially when stirring. Never place the sensor haphazardly in the beaker so that the glass membrane touches the beaker. This can cause scratches on the glass membrane, leading to erroneous results.
Watch the video to see how to properly calibrate our 913 pH/DO Meter and 914 pH/Conductometer.

Do you even have to stir at all? No, you don’t! However, as the stirring speed can affect the measured potential, always use the same stirring speed for all buffer solutions and subsequent measurements. Also, make sure not to stir so vigorously that a vortex is formed, and avoid any splashing of the solution.
Now, the calibration can be started. Most instruments decide autonomously when the reading is stable by monitoring the drift (mV change per minute). Sometimes it is also possible to stop the buffer measurement after a fixed time interval. However, this requires enough time for the electrode to reach a stable potential as otherwise this leads to a biased calibration.
Rinse the electrode with deionized or distilled water between each buffer solution. Never dry the electrode afterwards with a tissue, paper towel, or a cloth! This can result in electrostatic charges on the electrode or even scratches on the glass membrane. Both will lead to longer response times, and in the latter case – to irreversible damage.
What do «slope» and «offset» mean?
Once the calibration is finished, the instrument displays the calibration results. The calibration results usually consist of a slope and an offset value. These are explained in the following sections, along with the acceptable pH calibration values for both.
What is the slope in a pH calibration?
The calibration slope is the linear correlation between the mV readings of the buffers and their pH values. It is normally expressed in % and is calculated by dividing the measured slope of the calibration by the theoretical slope (Nernst slope), which is equal to 59.16 mV per pH unit at 25 °C.

This is done so that the slope can be corrected for any temperature differences between the calibration and measurement (Figure 3).
 compared to the ideal slope (in black).")
Figure 3.
Different Nernst slopes (shown in red) compared to the ideal slope (in black).
What is the offset in a pH calibration?
The offset, or pH(0), is the pH value measured at 0 mV. In an ideal case, 0 mV corresponds to a pH value of 7. However, reality is rarely ideal. Sometimes, the offset potential (Uoff), which corresponds to the potential at pH 7, is also given.

Figure 4.
The offset and offset potential of a real calibration curve.
What are acceptable pH calibration values for the slope and offset?
After calibration, always check the slope and the pH(0). The slope should fall between 95 and 103%, and the pH(0) should lie between pH 6.8 and 7.2 (Uoff within ± 15 mV).
To get more information about your pH electrode: either perform a pH electrode test which is implemented in some of our instruments, or do a test according to Application Bulletin AB-188.
AB-188: pH measurement technique
An out-of-range pH(0) can be caused by a contaminated electrolyte or is an indication that your pH probe may need a general cleaning. If the pH(0) is outside of the recommended range after cleaning and subsequent reconditioning, then it is time to replace the electrode.
Videos: Maintenance and care of electrodes
If the slope is below 95%, this may be due to expired or contaminated buffer solutions. Therefore, always use fresh buffers. However, old and slow electrodes can also exhibit slopes outside of the limits.
If the slope is still too low, even with fresh buffer, it is time to replace the electrode.
Summary
- Calibrating a pH meter ensures that your pH readings are accurate.
- Select the calibration frequency and buffer types according to your samples.
- Always use fresh, high quality, and certified buffers. Your calibration can only be as good as your buffers.
- Set up your instrument correctly and use a fixed electrode position for the best reproducibility.
- Determine the temperature for calibration and subsequent measurements. Also, only compare pH values of samples measured at the same temperature.
- After calibration, check that your data for slope and pH(0) are within the optimal limits.
Your knowledge take-aways
Do you want to learn even more about pH measurement? Check out these resources:
Blog post: Avoiding the most common mistakes in pH measurement
pH measurement: Everything from A – Z
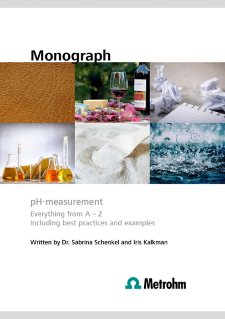
This monograph presents the consolidated expertise of Metrohm in practical pH measurement, theory, and practical examples.
Contact